

Lead Provider of Environmental Test Chamber


 Posted on
04 09 2025
Posted on
04 09 2025


Ever wondered how manufacturers test the durability of rubber or plastics under harsh conditions? The ozone aging test chamber is a key tool for that. It mimics ozone-rich environments to check how materials hold up over time. If you’re in quality control, product design, or just curious about testing tech, this guide’s for you. We’ll walk through the working process, break it down into clear stages, and share tips to get it right. Let’s dive in and see how this machine keeps your products tough.
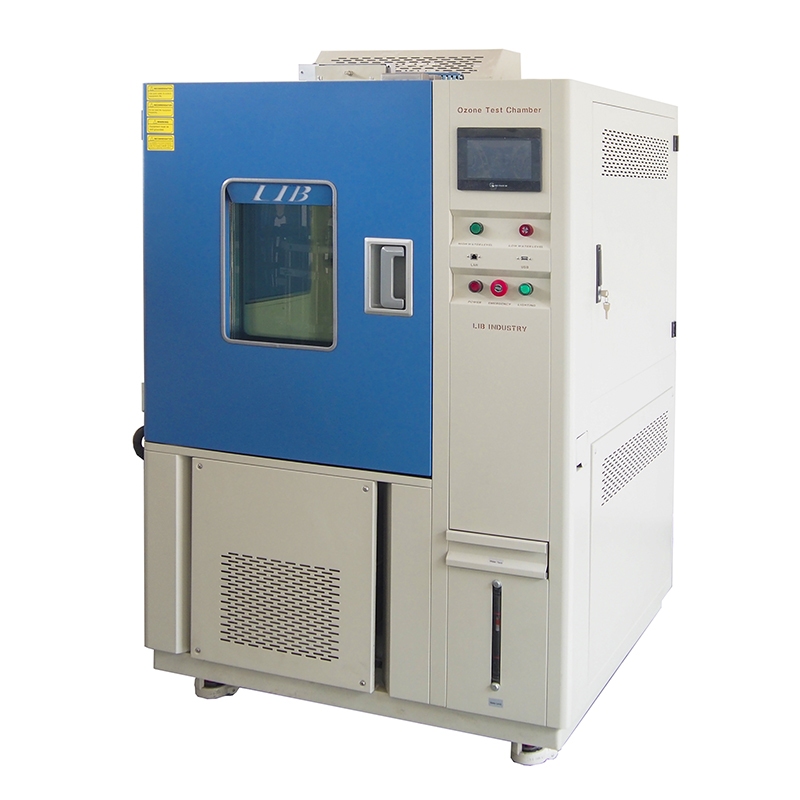
An ozone aging test chamber is a specialized piece of equipment. It exposes materials to controlled ozone levels to simulate long-term exposure. Ozone, a reactive gas, attacks rubber and polymers, causing cracks or fading. This test predicts how products like tires, seals, or cables will fare outdoors.
Why care? For industries like automotive or construction, material failure means safety risks or costly recalls. The chamber speeds up natural aging—months in days. Standards like ISO 1431-1 and ASTM D1149 guide its use, ensuring consistent results. Knowing its purpose sets the stage for understanding the working process.
The ozone aging test chamber follows a structured flow. Each step builds on the last to deliver reliable data. Here’s how it unfolds.
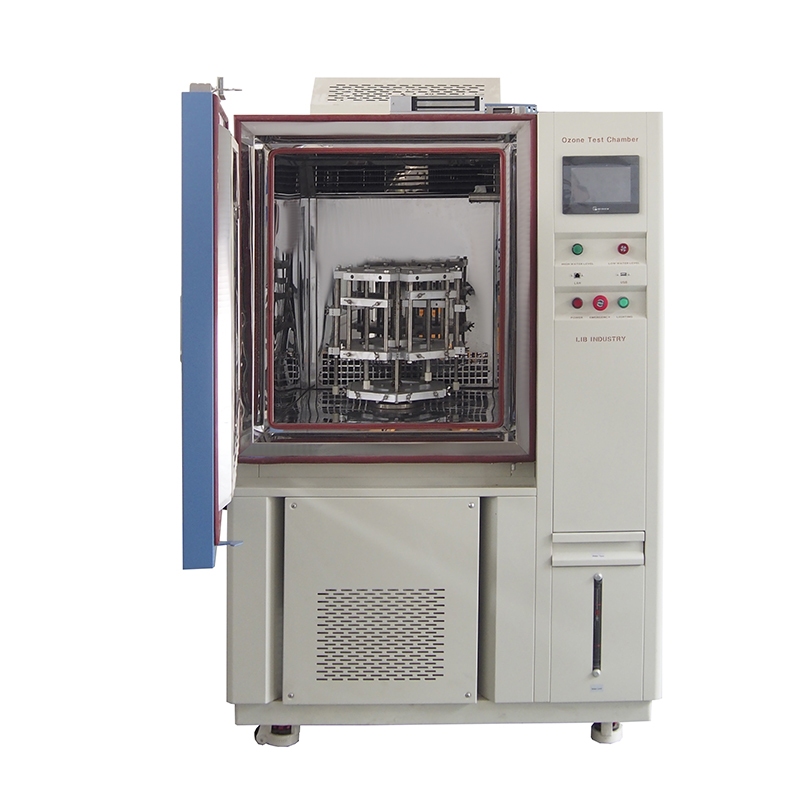
First things first—get the samples ready. Clean them to remove dirt or oils that could skew results. Cut pieces to fit the chamber, usually 2-3 inches square. Place them on racks, stretched or relaxed as needed, per test specs.
Set the chamber’s conditions next. Dial in the ozone concentration—typically 50 to 200 pphm (parts per hundred million). Temperature sits around 40°C, mimicking warm climates. Humidity might range from 50-70%, depending on the standard. Secure the door tight—no leaks allowed.
Sample Tips: Use gloves to avoid fingerprints.
Condition Check: Verify sensors with a calibration check.
Safety Note: Wear protective gear; ozone irritates lungs.
This stage takes 15-30 minutes, depending on sample count.
Now, the chamber creates ozone. An ozone generator inside uses electrical discharge or UV light to split oxygen (O₂) into single atoms. These pair with more oxygen to form O₃—ozone. A control system adjusts output to match your set level.
Flow rate matters. Air pumps circulate the gas evenly through the chamber. Too slow, and ozone pools unevenly. Too fast, and it escapes. Most units handle 10-20 liters per minute. A purifier removes excess ozone post-test to keep the lab safe.
This step runs continuously during the test, monitored by sensors.
The real work begins here. Samples sit in the ozone-rich environment. Duration varies—24 hours to 168 hours (a week)—based on material and standard. The chamber holds steady conditions throughout.
Ozone reacts with double bonds in rubber, breaking them down. Cracks form, especially under strain. A dynamic test might stretch samples 20-30% to speed this up. Static tests keep them still for natural wear insight.
Log conditions hourly. Temp might drift 1-2°C; ozone levels, 5-10 pphm. Note any visual changes—color shifts or surface splits.
Keeping things stable is key. Sensors track ozone, temp, and humidity. A digital display or software logs data in real time. If levels drop, the generator kicks in. Overheat? A safety cutoff stops the run.
Manual checks help too. Peek through a window (if equipped) to spot early damage. Adjust airflow if mist builds up. Most chambers run unattended, but a quick glance every few hours catches issues.
This step runs the test’s full length, often 1-7 days.
Test done? Vent the chamber to clear ozone. Open it only after levels hit safe limits—below 0.1 ppm. Remove samples carefully; they’re fragile now.
Examine under a magnifying glass or microscope. Count cracks, measure depth. Compare to a control sample (untested material). Photos back up findings. Standards like ASTM D1171 rate severity from 0 (none) to 10 (severe).
Record everything—times, settings, observations. This data guides material tweaks or approvals.
The chamber’s parts make it work. Understanding them helps troubleshoot or upgrade.
Ozone Generator: Produces O₃ from air or oxygen. Size matches chamber volume.
Control Panel: Sets and monitors conditions. Look for PID controllers for precision.
Sample Holders: Adjustable racks hold pieces at angles or tension.
Air Circulation Fan: Keeps ozone evenly spread. Check for quiet, efficient models.
Exhaust System: Safely removes ozone post-test. Includes filters or scrubbers.
A typical 150L chamber might cost $5,000-$10,000, depending on features. Larger units (500L+) hit $15,000+. Maintenance? Clean filters monthly, calibrate yearly.
|
Component |
Function |
Maintenance Tip |
|
Ozone Generator |
Creates ozone gas |
Check electrodes yearly |
|
Control Panel |
Manages settings |
Update software biannually |
|
Sample Holders |
Secures test pieces |
Inspect for wear monthly |
|
Fan |
Circulates air |
Clean blades quarterly |
|
Exhaust |
Vents ozone safely |
Replace filters every 6 months |
Not all tests run smooth. Variables can throw things off.
Temperature swings alter ozone’s reactivity. A 5°C drop slows aging; a rise speeds it. Humidity affects rubber swelling—too dry, and cracks deepen faster. Ozone concentration must hold steady; a 20 pphm dip invalidates results.
Sample prep matters too. Uneven cuts or contaminants skew outcomes. Chamber size limits batch size—overcrowding blocks ozone flow.
Control these with regular checks. Use a logbook to track drifts. Adjust settings mid-test if needed, but note changes.
Why bother with this process? It saves time and money. A week-long test mimics years of outdoor wear. Catch failures early, avoid field complaints.
Applications span industries. Tires get tested for sidewall cracks. Cables check insulation durability. Plastics for outdoor gear face the same scrutiny. Aerospace uses it for seals under high-altitude ozone.
Data from these tests feed design improvements. Swap materials or tweak coatings based on results.
Qingdao Xi’an LIB Environmental Simulation Industry shines as an Ozone Aging Test Chamber supplier. Founded in 2009 by Yang Menglin, it started crafting test chambers for China, soon conquering global markets. Now, products reach 42 countries, backed by seven top distributors in Canada, Mexico, Italy, Malaysia, South Korea, Bahrain, and Romania. A new after-sales hub in Malaysia boosts support.
LIB designs, builds, and services its own chambers, meeting standards like ISO 1431-1 and ASTM D1149. Sizes range from 150L to 1000L, with features like digital controls and safety locks. Big names—Intel, IBM, Stanley Tools, Intertek, TUV, University of Toronto—trust LIB for reliable, high-quality gear. They push “Made in China” with a focus on partnerships. Got a project? They’re worth a call.
The working process of an ozone aging test chamber offers a window into material durability. From setup to analysis, each step builds a clear picture of how products withstand ozone. Mastering this process cuts risks and boosts quality. Whether you’re testing tires or seals, the insights gained here shape better designs. Dive into it, and your next product might outlast the rest.
It starts with prepping samples—cleaning and cutting them to size. Then, set the ozone level and temp in the chamber to kick off the working process of an Ozone Aging Test Chamber.
Ozone generation creates O₃ using UV or discharge, adjusting to your set level. This key part of the working process of an Ozone Aging Test Chamber ensures even exposure.
Keep an eye on temp, ozone levels, and sample changes. Log them hourly to keep the working process of an Ozone Aging Test Chamber on track.
It varies—24 to 168 hours, depending on the material. Match it to your needs in the working process of an Ozone Aging Test Chamber for solid results.


 EN
EN


