

Lead Provider of Environmental Test Chamber


 Posted on
02 10 2025
Posted on
02 10 2025


If you work in making gadgets, cars, or army gear, you know dust can wreck things fast. It sneaks in and causes shorts, blocks moving parts, or wears down surfaces. That’s why dust chambers matter so much. These boxes copy real dusty spots to check if your stuff holds up. But picking and using one right takes know-how. Lots of folks rush in and miss key steps, leading to bad results or extra costs. This post gives you five solid tips for dust chambers that you can start with right now. We’ll keep it real, based on what works in labs and factories. Follow these, and you’ll get better tests, save time, and build trust in your products. That helps your team stand out and keeps customers coming back.
First off, don’t just toss your items in the chamber. Prep them well. This step sets up the whole test for success.
Dust tests look at how particles affect your goods over time. If samples aren’t clean or set up right, results skew. Start by drying them if needed. Wipe off any oil or dirt. For electronics, check seals. In some cases, run a quick check under normal air first. This spots early issues.
Do this, and your data stays true. It shows real-world wear. Folks who skip prep often redo tests, wasting days. But with good start, you catch flaws quick and fix designs early. That builds your rep for solid work.
Once in, focus on the dust itself. Wrong amounts mess everything up.
Dust chambers use talc or sand to mimic deserts or roads. But too much clogs, too little misses problems. Check the manual for loads—usually 2 to 5 kg per cubic meter. Turn on the blower slow at first. Watch how dust flies. Use the panel to tweak speed.
Air flow counts big. Aim for 1 to 2 m/s in most setups. High pressure can give false fails. Keep an eye on temp too—dust heats things. If it climbs over 40°C, cool it down.
This way, tests match standards like IP5X or IP6X. You get info that helps make tougher products. Teams that monitor close spot more issues, leading to stronger brands.
Dust builds up inside too. Ignore it, and tests go wrong.
After each run, vacuum the inside. Use soft cloths, no harsh stuff. Check filters—swap if dirty. Look at seals for cracks; they let dust escape.
Calibrate every six months. Test the blower speed. Make sure sensors read right. If something feels off, call for help quick.
Good care means longer life for the chamber. It cuts down time and keeps results steady. Companies that stay on top of this show they’re serious, winning more trust from buyers.
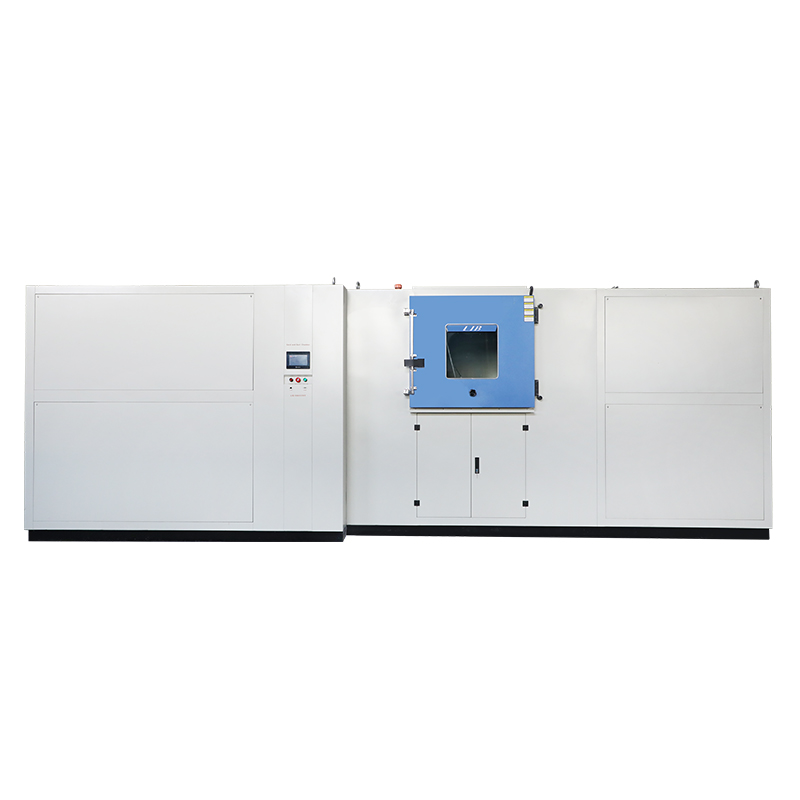
Not all chambers fit every job. Think about what you test.
For small parts like phones, a 1m³ box works. Big items like car doors need 2m³ or more. Add temp control if dust plus heat matters. Some have vibration too, for road sims.
Look for easy controls. Touch screens help set quick. Custom doors or ports make loading simple.
|
Chamber Size |
Best For |
Extra Features |
|
Small (under 1m³) |
Electronics, small tools |
Basic dust blow, IP ratings |
|
Medium (1-2m³) |
Auto parts, gadgets |
Temp add-on, air speed tweak |
|
Large (over 2m³) |
Big machines, outdoor gear |
Vibration, high dust load |
Choose smart, and tests run smooth. It saves cash long term. Picking right shows you know your field, boosting your pro image.
Last, follow rules and write it all down. This makes data count.
Use IEC 60529 for IP tests. It tells dust types and times. For army stuff, MIL-STD-810 has guides. Run tests same each time.
Note start/end times, dust used, any stops. Share reports with your team. This helps spot trends.
Doing this, you meet regs and improve goods. It proves your work to others, helping your name grow in the industry.
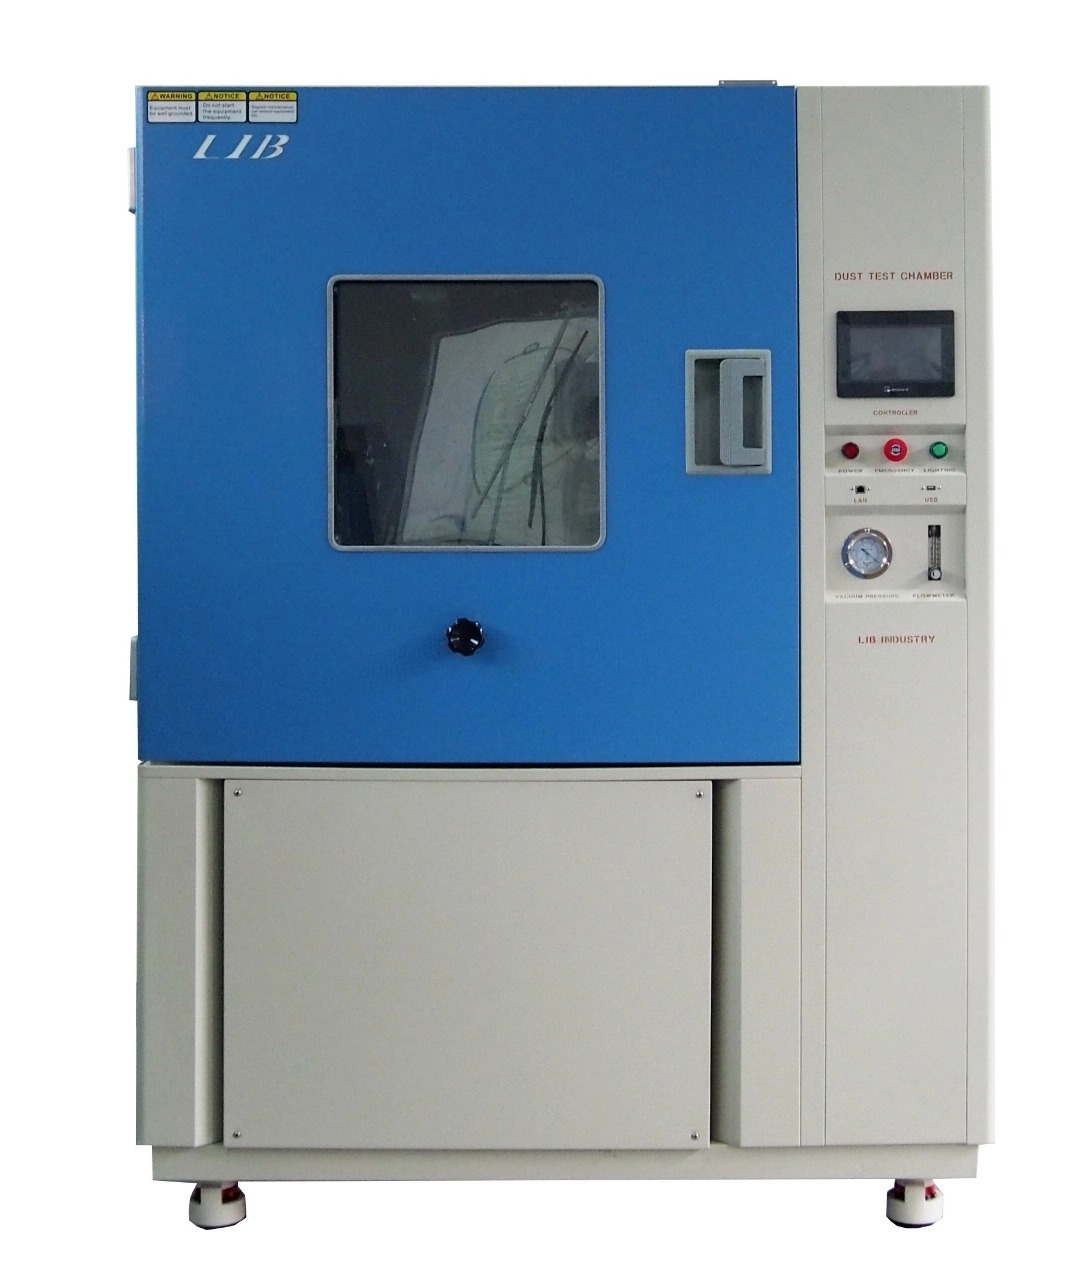
As a key player in test gear, Xi’an LIB Environmental Simulation Industry stands out as a dust chambers supplier. They offer boxes for dust and rain, plus other types like corrosion or weather testers. With standard and custom builds, they fit what you need. Their team gives full help, from setup to fixes, serving folks worldwide.
These five tips give you a strong start with dust chambers today. Prep well, watch settings, clean regular, choose smart, and follow standards—they all add up to better tests and tougher products. Put them in play, and you’ll see less fails, more wins. This not only helps your daily work but lifts your whole operation. Stay sharp, and watch your brand shine.
Five tips include prepping samples dry and clean, setting dust levels low at first, cleaning after each run, picking size that fits your items, and logging all per standards.
They cut errors in tests, show real dust effects quick, and keep gear running smooth, saving time on fixes.
It spots weak spots early, meets IP rules, and builds trust in your goods lasting in dusty spots.
Yes, start simple like cleaning and logging, then build to settings—easy steps make big difference fast.


 EN
EN


